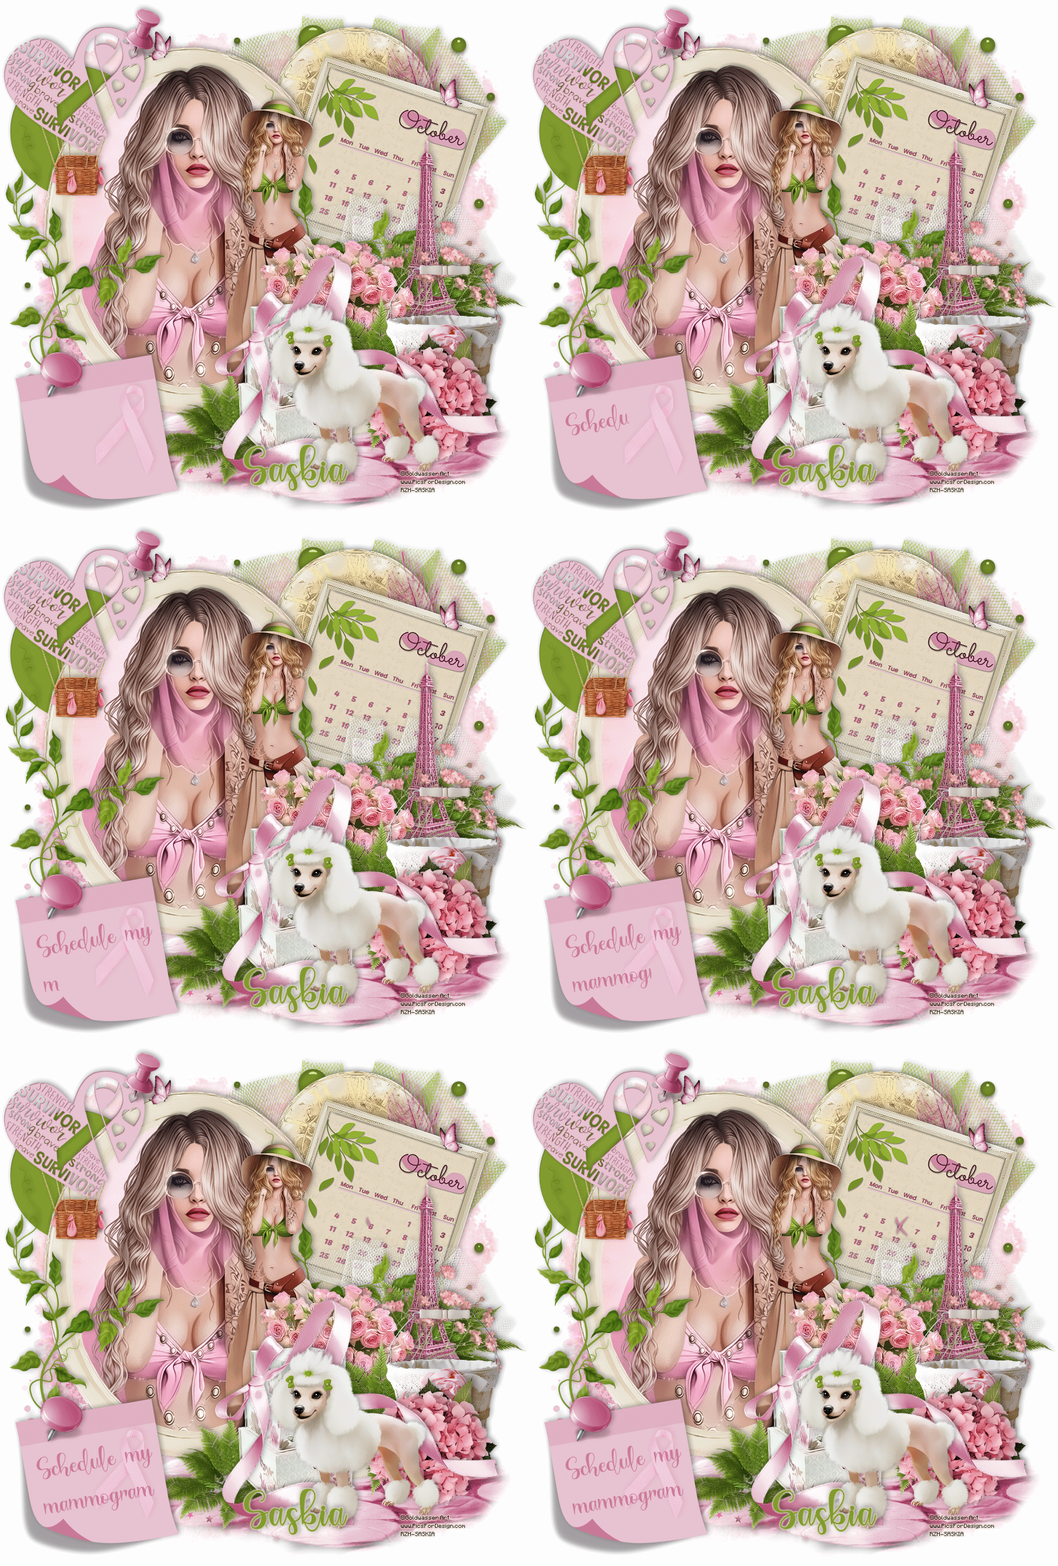
Breast Cancer Awareness
Artwork ©Goldwasser Art
In order to use her art you must purchase a license and her tubes at PicsForDesign.com
This is a CT tutorial for
---------------------------------
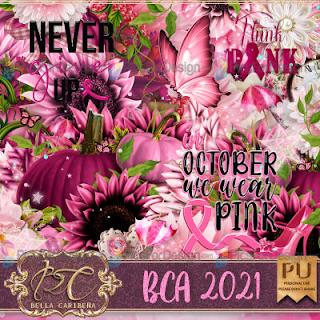
I used a Scrapkit of Bella Caribeña , called BCA 2021
_____________________________
Supplies: HERE
Font: Bunnyheart
Filter: Eye Candy / PerspectiveShadow / Gradient Glow / Extrude
The example was made with PSP X and Jasc Animation Shop
_________________________________________
I am not going to explane how to copy and paste, be creative or look at my tag for placement 😉
1.) Open a new raster layer 900x900 and fill with white
2.) Copy and paste Z-BC-BCA-2021-PP (10) as new raster layer and apply the mask provided / duplicate and merge the 2 layers
3.) Add the elements you wish or look at my tag for the placement. Some elements I recolored
Adjust / Hue and Saturation / Colorize
4.) I set the pink ribbon on my note to "Soft Light"
5.) On the heart in the top left corner and the green circle I added a small "Extrude" (Eye Candy)
6.) I drew a few small circles on my canvas and added Eye Candy / Glass on those
I recolored those again to my original green
7.) Add your name and apply Eye Candy / Gradient Glow
8.) Add a drop shadow to your elements
9.) Add the artist copyright and your license
10.) When you are happy with your tag / merge visible
11.) Type the text on your note " Schedule my mammogram" / convert to raster layer
12.) Copy and paste those 2 layers from BCAX (Supplies)
13.) Highlight your top layer / edit / copy merged / paste as new animation to AS
14.) Eraser Tool
15.) Erase small parts each time
16.) Edit / Copy Merged and paste after current frame to AS
17.) Back to your PSP / erase another small part
18.) Edit / Copy Merged / paste after current frame to AS
19.) Back to PSP / repeat step 17.) and 18.) / do the same on the other part of the "X"
20.) When your "X" is totally erased, we keep going on the text layer
21.) I had at the end 24 frames ( the more frames you have, the more it looks fluently)
22.) When you are done with erasing those 3 layers go to AS / edit / select all / Animation / Reverse Frames
23.) Edit / select all / set frame properties to 15
24.) Highlight the last frame and set frame properties to 90
25.) View animation and save as ....gif 😉
~~~~DONE~~~


No comments:
Post a Comment