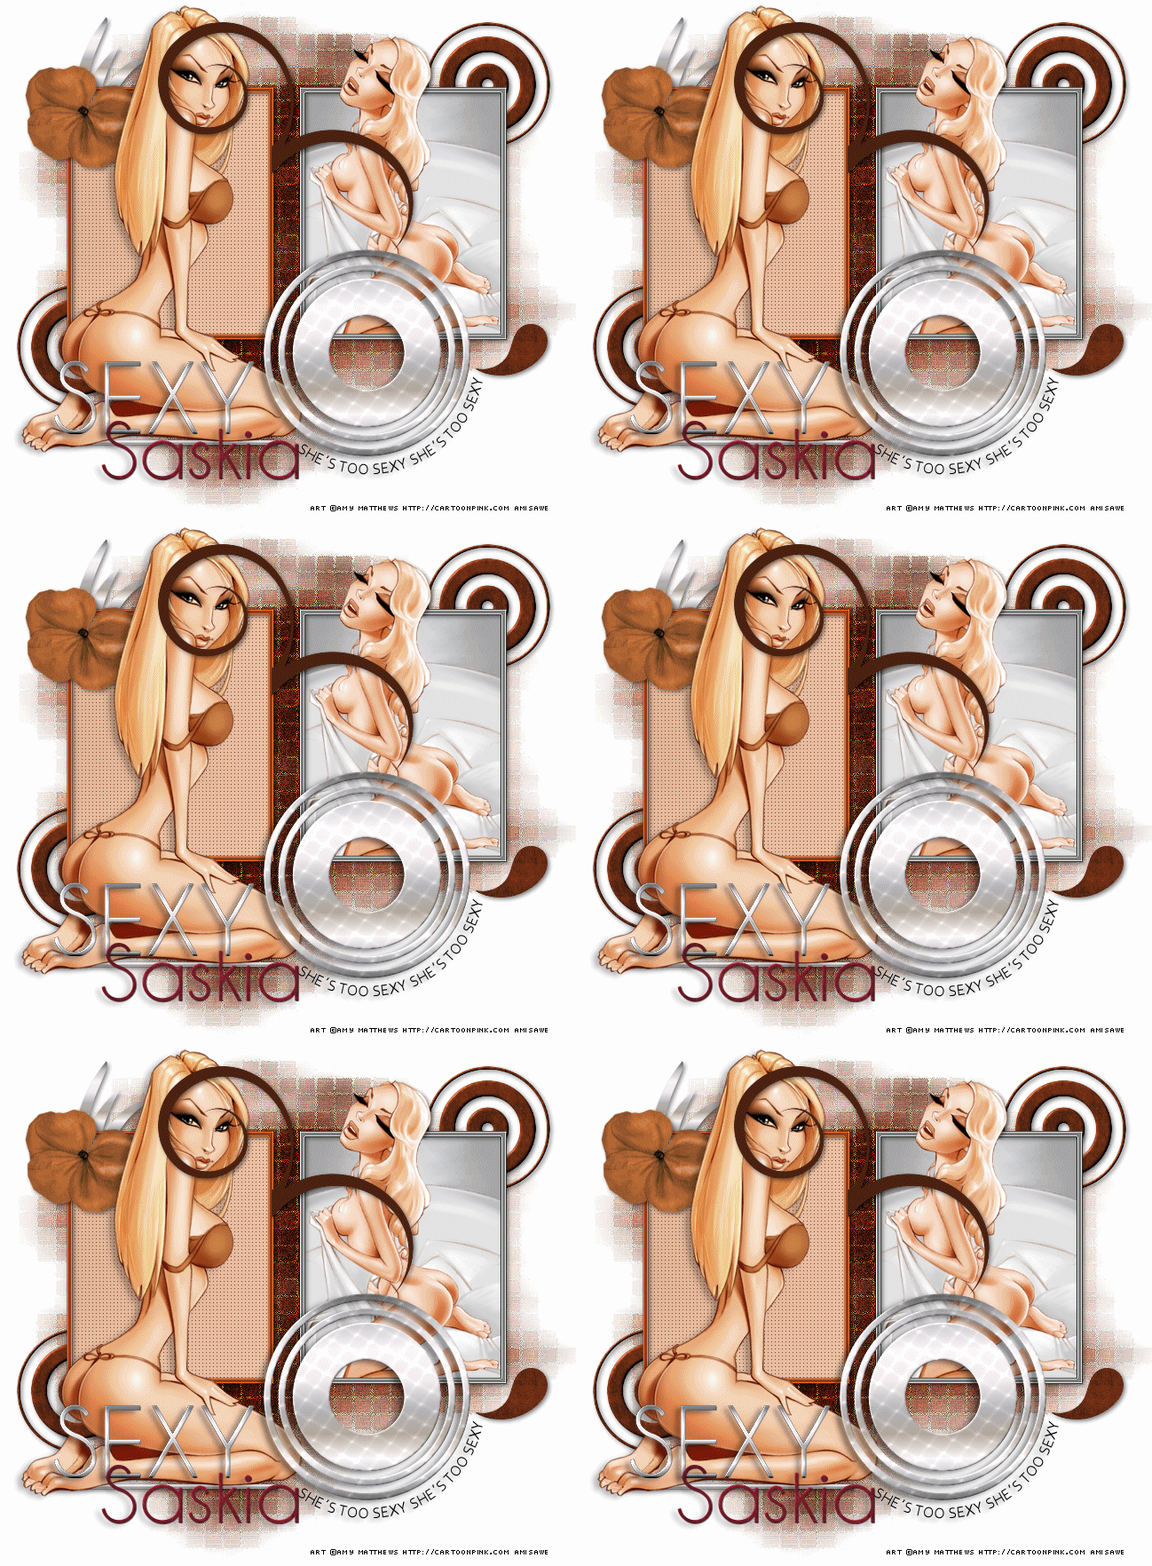
Artwork ©Amy Matthews
In order to use the image in this tutorial you MUST purchase it from AMI
I used a mask from Becky, her site is down, added to the supplies (Becky023)
Font : Champagne & Limousines here
Supplies: Mask (Becky), my template, background and flower here
Filters:
DSB Flux / Bright Noise
The tutorial was made with PSP X and Jasc Animation Shop
________________________________
1.) Open my template and delete the info and copyright layer
2.) Highlight the white background layer / copy and paste my BG1 as new raster layer
3.) Apply the mask and merge group
4.) Duplicate the mask / Effects / Texture Effects / Mosaic Antique
5.) Set the Blend Mode to Hard Light
6.) Fill layer 4 and 5 with your image / tube / background
7.) Highlight layer 6 / selection / select all / float / defloat
8.) Add a new raster layer and fill with #c88246 / deselect and add drop shadow
9.) Effects / Edge Effects / Enhace
10.) Now you can delete layer 6
11.) Highlight layer 7 / selection / select all / float / defloat
12.) Add a new raster layer and fill with your silver gradient / deselect and add drop shadow
13.) Effects / Edge Effects / Enhace
14.) Delete layer 7
If the following steps are hard to understand , look at my example , it`s maybe easier 😘
15.) Highlight layer 8 / selection / select all / flaot / defloat
16.) Add a new raster layer and fill with your silver gradient / deselect / Effects / Inner Bevel
17.) Add drop shadow and delete layer 8
18.) Highlight layer 9 / selection / select all / flaot / defloat
19.) Add a new raster layer / set your color palette to pattern (BG1) and fill the selection / deselect / drop shadow (2 /2 / 50 / 7)
20.) Delete layer 9
21.) Repeat step 18-20 with layer 10 and layer 1 (here fill with silver gradient)
22.) Same you do with layers 2 and 3 , but add Inner Bevel before you add Drop Shadow
23.) Repeat for layers 11 and 13 / silver gradient / Inner Bevel and Drop Shadow
24.) If you want add my flower somewhere / Drop Shadow
25.) If you want to resize your tag, now it`s time / sharpen
26.) Add the artist copyright and your license
27.) Type your name / convert to raster layer / Inner Bevel and Drop Shadow
______________________________________
Animation
1.) Hide this layer in your layer palette
2.) Highlight the mask layer with the "Hard Light" Blend Mode
3.) Effects / DSB Flux / Bright Noise
4.) Edit / Copy merged and paste as new animation to your Animation Shop (AS)
5.) Back to your PSP / Undo last step and add Bright Noise again , click once on "MIX"
6.) Edit / Copy merged and paste after current frame in your AS
7.) Repeat step 5 and 6 once again
8.) In your AS / Edit / Select all / Edit / Duplicate selected
9.) And again / Edit / Select all / Edit / Duplicate selected , you should have 12 frames now
10. ) Back in your PSP / unhide the silver circle layer / highlight / Edit / copy and paste as new animation to AS
11.) In your AS / Effects / Insert Image Effects / Underwater
12.) Click on Customize
13.) I have set Wave 1 to X-5 and Y 3 and Wave 2 to X3 and Y5 / click OK
14.) You should have 14 layers / delete the first 2 layers
15.) Edit / Select all / Edit / Copy
16.) Highlight your tag / Edit / Select all / Edit / Paste into selected frame
7.) In your AS / View / Animation and save as .....gif
~~~~DONE~~~~
This tutorial was written 12th of july 2009 and the copyright is mine


No comments:
Post a Comment