Spooky
Artwork ©Alec Rud
In order to use his art you must purchase a license and his tubes at PicsForDesign.com
This is a CT tutorial for
The tube I used is an "Exclusive" Tube, more information you will find here:
https://picsfordesign.com/en/main/exclusive.pix
_____________________________________
I used a Scrapkit of Wicked Diabla Designs called Selena
___________________________________
My Supplies: HERE
Font : Cadabra
Filters: Eye Candy / Drop Shadow, Extrude and Gradient Glow
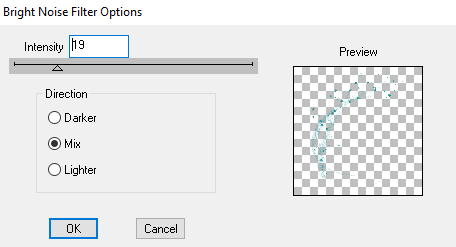
DSB Flux / Bright Noise
The example was made with PSP X and Jasc Animation Shop
_____________________________________________
I am not going to explane how to copy and paste, be creative or look at my tag for placement 😉
1.) Open a new raster layer 900x900 and fill with white
2.) Copy and paste WD-Selena-Paper (9) as new raster layer and apply becky_mask
3.) Copy and paste WD-Selena-Paper (1) and apply Spookymask
4.) Duplicate this layer and merge down
5.) Place WD-Selena-Element (89) between your 2 mask layers and set opacity to Overlay
6.) Copy and paste WD-Selena-Element (18) on top of the "overlay" layer
7.) Copy and paste the banner as new raster layer / same you do with the banner frame /add a small drop shaow on the frame
8.) Copy and paste line_27 as new raster layer / add small drop shadow on a seperate layer
9.) On the "SPOOKY" element I used Eye Candy Extrude
10.) Add your tube and elements to your liking / Drop Shadow
11.) Type your name / Cadabra / size 80 in the color of your tag
12.) Convert to raster layer / Eye candy/ Gradient Glow in black
13.) Add DSB Flux/ Bright noise and a drop Shadow
14.) Type your name again, but in black / convert to raster layer / Gradient Glow in the color you used before for your name / move this layer below the other one (for placement look at my tag)
15.) Duplicate / on the top you add drop shadow / on the other one Effects / distortion Effects / Wind
16.) Effects / Edge Effects / Enhance
17.) Add the artist copyright and your license
-------------------------------------
Animation
1.) Merge those layers
2.) Copy and paste as new animation to AS
3.) Duplicate those layer till you have 8 frames
4.) Open SpookyAni in AS / Edit / select all / copy
5.) Highlight your background frames / Edit/ select all / paste into selected frame
6.) Back to your PSP / hide your merged background
7.) Highlight your Line-27 layer / DSB Flux / Bright Noise
8.) Edit / Cop Merged and paste as new animation to AS
9.) Back to PSP / undo last step / apply Bright Noise again, but click once in "Mix"
10.) Edit / Copy Merged and paste after current frame
11.) Repeat step 9.) and 10.) till you have 4 frames
12.) In AS / Edit / select all / duplicate selected frame (you should have 8 frames now)
13.) Edit / select all / copy
14.) Highlight your background frames / edit / paste into selected frame
15.) View animation and save as ....gif 😉
~~~~DONE~~~~


No comments:
Post a Comment