

I used the wonderful art of ©Jamie Kidd, you can purchase his art and license at CDO
Filters : Eye Candy Impact / Xero Porcelain / DSB Flux / Neology
Supplies: here
______________________________________________________
1.Open a new raster layer 750x300
2. Copy and paste your tube
3. Duplicate / at the bottom one / Muras Filter / Copies / Wallpaper rotate

4. Duplicate / at the bottom one / Adjust / Blur / Motion Blur 2x

5. On the other BG layer / Effects / Neology / Blend Mosaic

6. Crop Tool
7. Layers / Load mask from disc

8. Pick Tool / move the mask layer to the left side / merge group

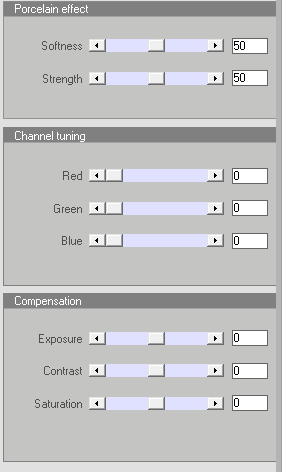
9. Effects / Edge Effects / Enhance / Effects / Xero / Porcelain
10. Duplicate / Image mirror / image flip / merge down / drop shadow
11. Highlight your BG layer / Eclipse Tool / I draw a few circles to fill the outline circles from the mask layer / on each I applied Eye Candy Glass

12. Highlight your BG layer again / Rectangle Tool / convert to raster layer

13. Effects / DSB Flux / Linear Transmission / Effects / Edge Effects / Enhance / opacity 80

14. Highlight your mask layer / Rectangle Tool / convert to raster layer

15. Effects / DSB Flux / Linear Transmission / drop shadow / opacity 85

16. Same you do on the other side with other color (look at my set for placement)
17. Crop your image again
18. Add border , copyright, your name etc.
19. Time to merge / merge all below your mask layer and all above it
___________________________________________________________
Animation
1. Copy and paste your mask layer to AS (Animation Shop) 2x
2. Effects / Insert Image Effects / on your first mask layer you apply Direction unchecked on the second checked / Customize


3. Delete on first animation the first frame and on second the last
4. Take your second animation / Edit / Select all / Edit / Copy
5. Highlight first animation / click on last frame / paste after current frame
6. You can delete now the second animation
NOTE: The file will be a bit bigger with 40 frames, so to keep it smaller you can just select all / Animation / Cull animation / set to 2 ... but then set Frame Properties to 20
7. Back to your PSP / copy and paste your background to AS / CTRL + L till you have 40 frames
8. Highlight animation / Edit / Select all / Edit / Copy
9. Back to your BG / Edit / Select all / Paste into selected frames
10. Same you do now with your top layer from PSP
11. View Animation ....save as gif

~~~DONE~~~
The tutorial was written on 20th of May 2019 and the copyright is mine
I love this tag & I look forward to the tutorial too. Your work is fantastic.
ReplyDelete